INTRODUCTION
Are you trying to connect your Arduino based PLC with your computer through MQTT but they do not connect correctly? Have you been doing our Develop your SCADA Application based on Node-RED course >> and have problems connecting the devices?
In this blog, we are going to analyze possible issues in order to solve all your doubts!
Latest Posts
CONNECTIONS
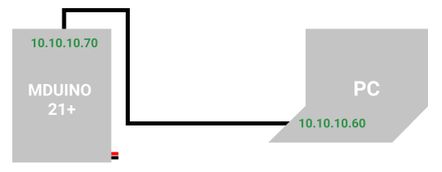
First of all, we are going to wire an Ethernet cable from our laptop to the Arduino based PLC which will be powered by a power supply like this:

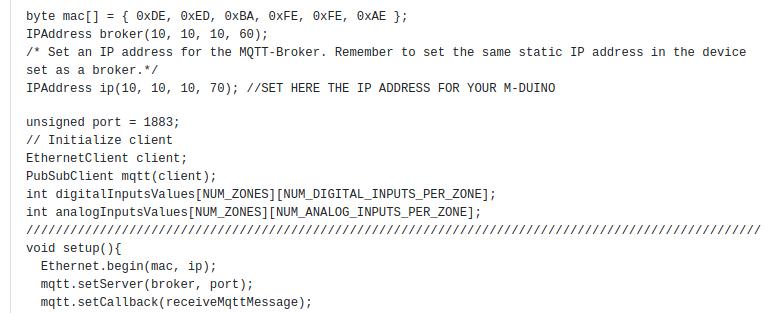
Make sure that the IP addresses are set correctly.
Check out the following blog post, in order to your static IP address >
In the PLC side, program the Arduino PLC with the code of the course where you correctly assign the Ethernet parameters.

PING
Then, we are going to verify that we can ping our Arduino based PLC in order to verify that the IP address exists and can accept requests.
So, from your laptop, open up the Command Prompt and run the following command to make sure that you can ping to be able to send packets to the PLC:
ping 10.10.10.70

CONFIG FILE
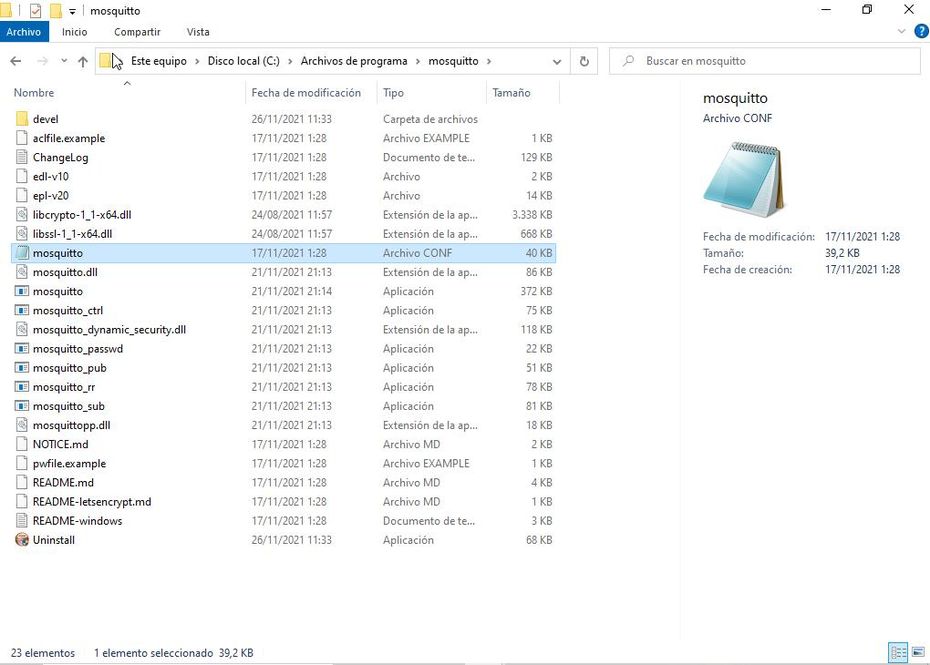
Once you can ping your PLC, check that your configuration file, has everything by default. If needed, remove Mosquitto and install it again. Check that there is no letter or word written by mistake, or any path from Linux, or anything like this.

In this file, we are going to add two parameters:
allow_anonymous = true
listener 1883
Information
The allow_anonymous parameter is a boolean value that determines whether clients that connect without providing a username are allowed to connect. If set to false then another means of connection should be created to control authenticated client access.
The listener listens on a port/IP address combination. By using this variable multiple times, Mosquitto can listen on more than one port. If this variable is used and neither bind_address nor port given, the default listener will not be started. The port number to listen on must be given. Optionally, an ip address or host name may be supplied as a second argument. In this case, mosquitto will attempt to bind the listener to that address and so restrict access to the associated network and interface. By default, mosquitto will listen on all interfaces.
Now, go to:
netstat -an
and check that you can see the 1883 port is listening.

WINDOWS FIREWALL
As Mosquitto requires making an external communication, it is necessary to enable the Windows Firewall, for incoming and outgoing requests on port 1883, we are going to create the rules. This is done so that the Firewall does not block the mosquitto service.
So, let's go to create a new Inbound Rule:
Windows Defender Firewall window > Advanced Settings > Inbound Rules > New Rule... > Port... > TCP > Specific local ports: 1883 > Allow the connection > Set the Domain, Private and Public as selected > And set a Name: Mosquitto.
Then, go to Outbound Rules and do the same.

TESTING
Finally, go to the Mosquitto directory:

And execute the Mosquitto subscribe command:
mosquitto_sub -h localhost -t "I"
Where:
-h host: localhost
-t topic:
And start getting the data from your Arduino based PLC through Mosquitto!